How to Paint Kitchen Cabinets: Easy Step-by-Step DIY Guide
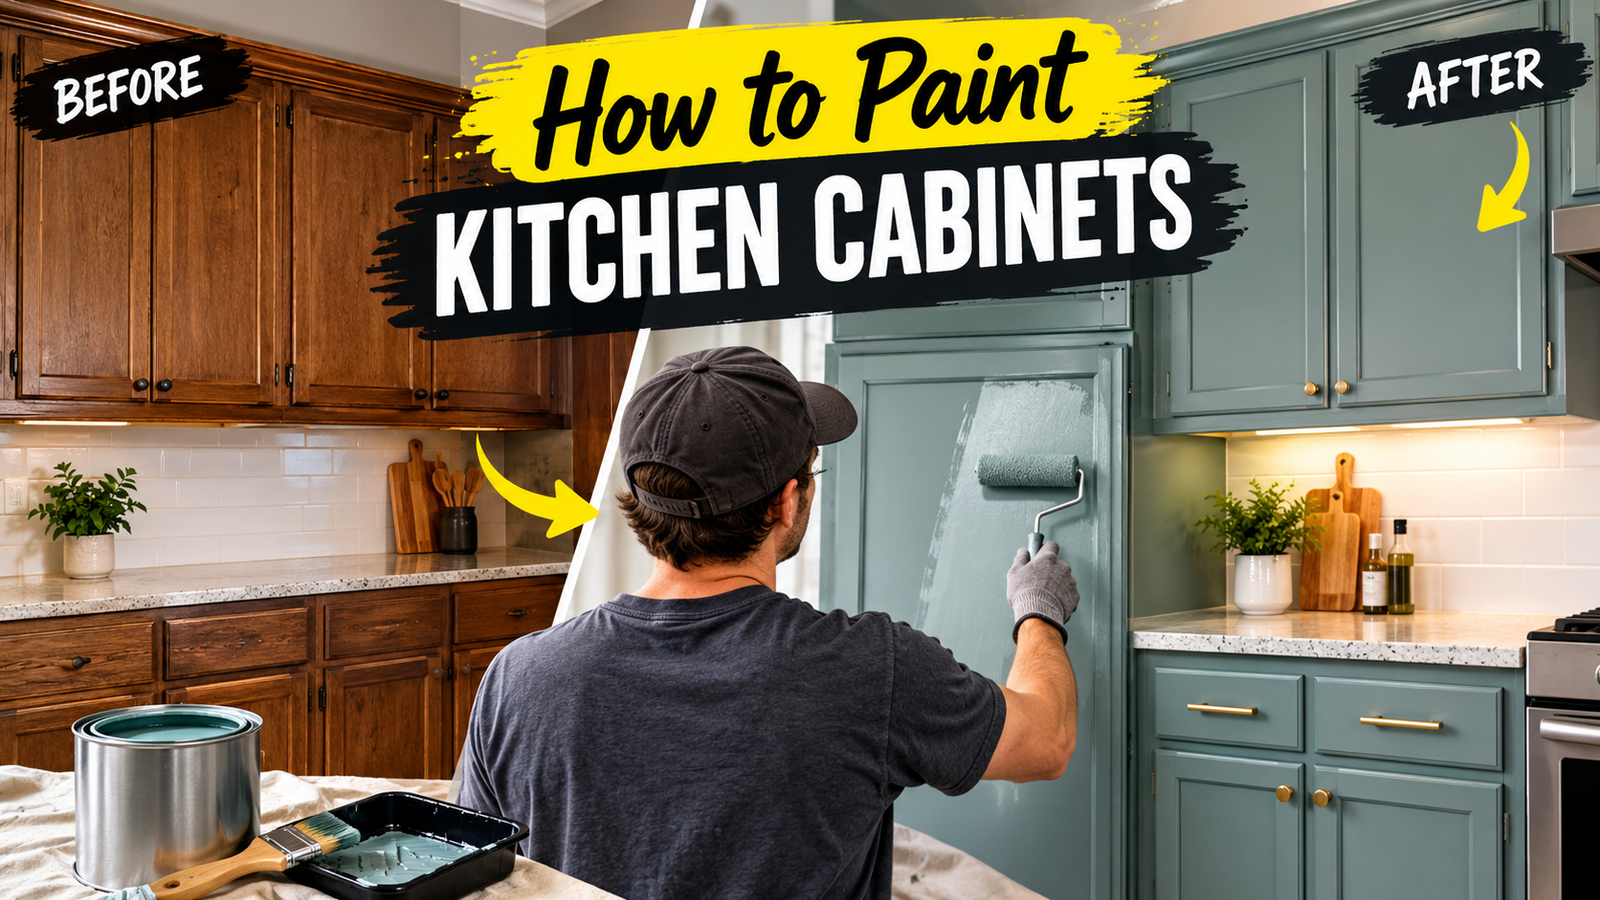
Painting kitchen cabinets is one of the easiest ways to give your kitchen a fresh, updated look without replacing the entire cabinetry. With the right preparation, paint, tools, and technique, you can transform outdated cabinets into a stylish finish that looks clean and professional.
Whether you want classic white cabinets, modern gray, warm beige, or a bold color, this guide explains how to paint kitchen cabinets step by step.
Why Paint Kitchen Cabinets?
Replacing kitchen cabinets can be expensive and time-consuming. Painting them allows you to refresh your kitchen while keeping the existing cabinet structure.
Some benefits include:
- Gives an outdated kitchen a fresh appearance
- Costs less than replacing cabinets
- Allows you to customize the color
- Can make a small kitchen feel brighter
- Updates traditional cabinets with a modern finish
- Lets you keep cabinets that are still structurally sound
What You Need to Paint Kitchen Cabinets
Before starting your project, gather everything you need.
Basic Supplies
- Screwdriver or drill
- Painter’s tape
- Drop cloths or plastic sheeting
- Mild degreasing cleaner
- Cleaning cloths or sponges
- Sandpaper
- Sanding block or orbital sander
- Wood filler
- High-quality primer
- Cabinet or furniture paint
- Paint trays
- High-quality brushes
- Small foam or microfiber roller
- Clean rags
- Protective gloves
- Safety glasses
Choose a paint specifically designed for cabinets, doors, trim, or furniture. The product label should indicate the appropriate surfaces and preparation requirements.
Step 1: Remove Cabinet Doors and Hardware
Start by removing the cabinet doors, drawers, handles, knobs, and hinges.
Keep the screws and hardware organized so everything can be returned to its original location.
A useful trick is to label each door and its corresponding cabinet with painter’s tape. This makes reassembly much easier.
Tip: Take a quick photo of the cabinet hardware before removing it. This gives you a visual reference when you’re ready to put everything back together.
Step 2: Clean the Cabinets Thoroughly
Kitchen cabinets accumulate grease, cooking residue, dust, and other buildup over time. Paint will not adhere properly to a dirty or greasy surface.
Clean every surface thoroughly using an appropriate household degreaser or cabinet-safe cleaner.
Pay special attention to:
- Areas around cabinet handles
- Surfaces near the stove
- Lower cabinets
- Edges and corners
- Drawer fronts
After cleaning, allow the cabinets to dry completely.
Step 3: Repair Imperfections
Inspect the doors and cabinet frames for dents, scratches, holes, or cracks.
Use an appropriate wood filler on damaged areas and allow it to dry according to the manufacturer’s instructions.
Once dry, sand the repaired areas until they are smooth and level with the surrounding surface.
This step is important because painting can make imperfections more noticeable rather than hiding them.
Step 4: Sand the Cabinets
Lightly sand the cabinet surfaces to create a better surface for primer and paint to adhere to.
You don’t necessarily need to remove every bit of the existing finish. The goal is generally to dull the surface and smooth imperfections.
For detailed or recessed cabinet doors, sanding by hand can provide better control.
After sanding, remove all dust with a clean, slightly damp cloth or another suitable method recommended for your paint system.
Step 5: Protect Your Kitchen
Before priming, protect areas you don’t want painted.
Cover countertops, floors, appliances, and nearby surfaces with drop cloths or plastic sheeting.
Use painter’s tape around:
- Walls
- Countertops
- Cabinet interiors
- Appliances
- Trim
If possible, paint cabinet doors and drawer fronts in a well-ventilated workspace.
Step 6: Apply Primer
Primer helps create a uniform surface and can improve paint adhesion, particularly when you’re changing colors or painting previously finished cabinets.
Apply a thin, even coat of primer to:
- Cabinet doors
- Drawer fronts
- Cabinet frames
- Exposed cabinet sides
Avoid applying excessively thick coats, which can lead to drips and uneven drying.
Allow the primer to dry according to the manufacturer’s instructions.
If necessary, lightly sand the primed surface before the next coat and remove the dust.
Step 7: Paint the Cabinets
Now it’s time for the main transformation.
Use a high-quality brush for corners, edges, and detailed areas. A small roller can help create a smoother finish on larger flat surfaces.
Apply thin, even coats rather than trying to achieve complete coverage in one coat.
Work systematically and avoid repeatedly brushing areas that have started to dry.
Depending on the paint and color, you may need two or more coats.
Always follow the paint manufacturer’s recommended drying and recoating times.
Step 8: Paint the Cabinet Frames
While the doors and drawers are drying, paint the cabinet frames.
Start with detailed areas and edges before moving onto larger surfaces.
Keep an eye out for:
- Drips
- Brush marks
- Uneven coverage
- Paint buildup around corners
Allow each coat to dry fully before applying another.
Step 9: Allow the Paint to Cure
Dry and cured aren’t necessarily the same thing.
A painted surface may feel dry to the touch while still being relatively soft. Cabinet doors and drawers experience frequent handling, so adequate curing time is important.
Follow the manufacturer’s instructions for the specific paint you’re using before reinstalling hardware or putting the cabinets back into heavy use.
Step 10: Reinstall the Doors and Hardware
Once the paint has sufficiently dried and cured, reinstall the cabinet doors, drawers, hinges, knobs, and handles.
Use the labels or photos you made earlier to ensure everything goes back in the correct position.
Take your time during this step to avoid scratching the freshly painted surfaces.
Best Paint Colors for Kitchen Cabinets
The right color can dramatically change the appearance of your kitchen.
White
White cabinets create a bright, clean, timeless appearance and work well with many countertop and backsplash styles.
Light Gray
Gray offers a modern alternative to white while maintaining a neutral appearance.
Beige or Greige
Warm neutral shades can create a comfortable, sophisticated kitchen and pair well with natural wood and stone.
Sage Green
Sage green can add a subtle natural tone while maintaining a soft, modern aesthetic.
Navy Blue
Navy cabinets can create a dramatic look, particularly when combined with lighter walls and countertops.
Tips for a Professional-Looking Finish
1. Don’t Skip Cleaning
Even small amounts of grease can interfere with paint adhesion.
2. Take Your Time With Preparation
Good preparation often has a bigger impact on the final result than simply adding more paint.
3. Use Thin Coats
Several thin coats usually provide better control than one thick coat.
4. Avoid Painting in Poor Conditions
Temperature, humidity, ventilation, and drying conditions can affect the finish. Follow the paint manufacturer’s recommendations.
5. Don’t Rush Reassembly
Reinstalling doors before the paint has adequately cured can cause sticking, scratches, or damage.
6. Test Your Color First
Paint a small, inconspicuous area or use a sample board before committing to the entire kitchen.
Common Mistakes to Avoid
Avoid these common problems when painting kitchen cabinets:
- Painting over grease or dirt
- Skipping surface preparation
- Applying excessively thick coats
- Using the wrong type of paint
- Ignoring drying and curing instructions
- Failing to label cabinet doors
- Using low-quality brushes or rollers
- Reinstalling hardware too soon
- Not providing adequate ventilation
How Long Does It Take to Paint Kitchen Cabinets?
The total project time depends on the number of cabinets, preparation required, drying conditions, and the paint system you choose.
A small kitchen may take several days when you include:
- Cleaning
- Repairs
- Sanding
- Priming
- Painting
- Drying between coats
- Curing
- Reassembly
Don’t rush the process. Allowing sufficient drying and curing time can help produce a more durable finish.
Final Thoughts
Learning how to paint kitchen cabinets can help you give your kitchen a completely different appearance without the cost of a full cabinet replacement. The key is to focus on preparation, use the right products, apply thin and even coats, and allow enough time for the finish to dry and cure properly.
With patience and attention to detail, even dated cabinets can become a beautiful feature of your kitchen.